Vinyl application fitting guide
This simple application guide explains the two most used vinyl application methods. Whether it be a vehicle, window or flat panel, the same application principles apply.
Applying vinyl graphics using a dry application method
Ideal for smaller vinyl graphics. The most common method for applying smaller stickers or individuals who have some experience in fitting adhesive graphics
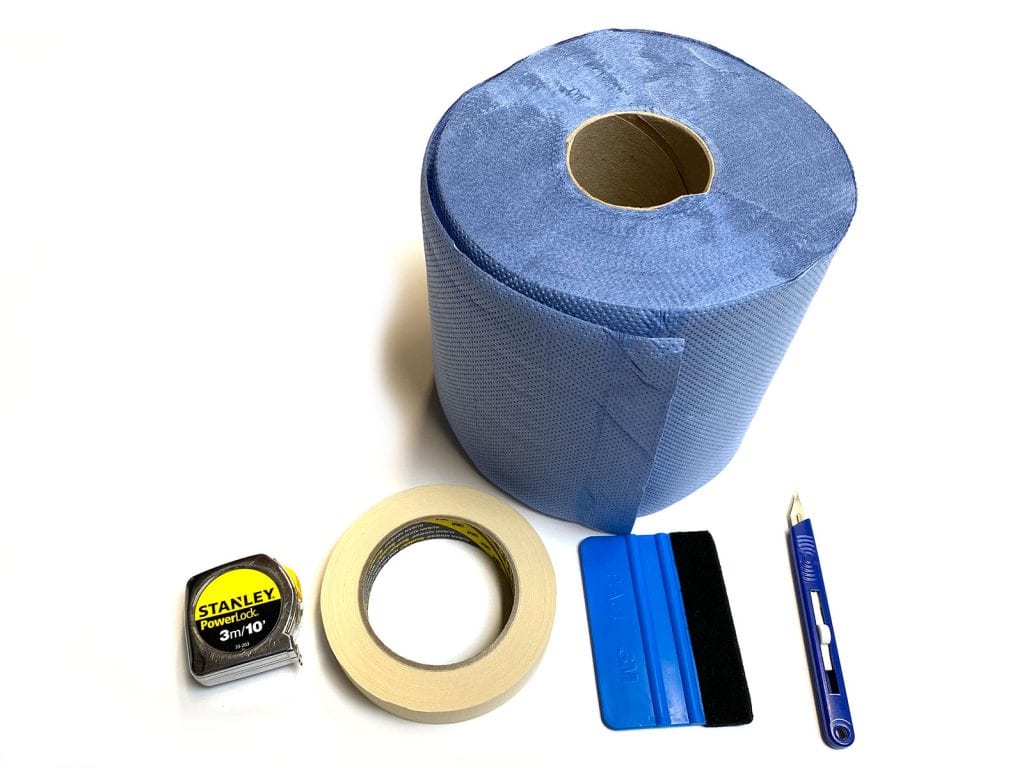
Tools you will need for a dry application.
- Masking tape
- Tape measure
- Squeegee or credit card wrapped in a soft cloth
- Craft knife or scalpel
Step 1. Clean your surface
Firstly you will need to clean the surface of your substrate. Making sure your application area is free from dirt, dust or grease in very important. Remember a vinyl graphic is as only as good as the surface it is being applied. Methylate spirits is an ideal cleaning product to use when cleaning your application area. Meths is excellent for removing dust, grime and grease this comes in small bottles and is dyed purple. Please note: Do not confuse meths with white spirit, and please don’t use white spirit. White spirit is a paint remover and is also very greasy. Hold a cotton rag or similar over the bottle and turn the bottle upside down, so the meths soaks a cloth. Wipe your area thoroughly with the meths. The meths will evaporate so repeat the process until clean.
Step 2. Position your graphic
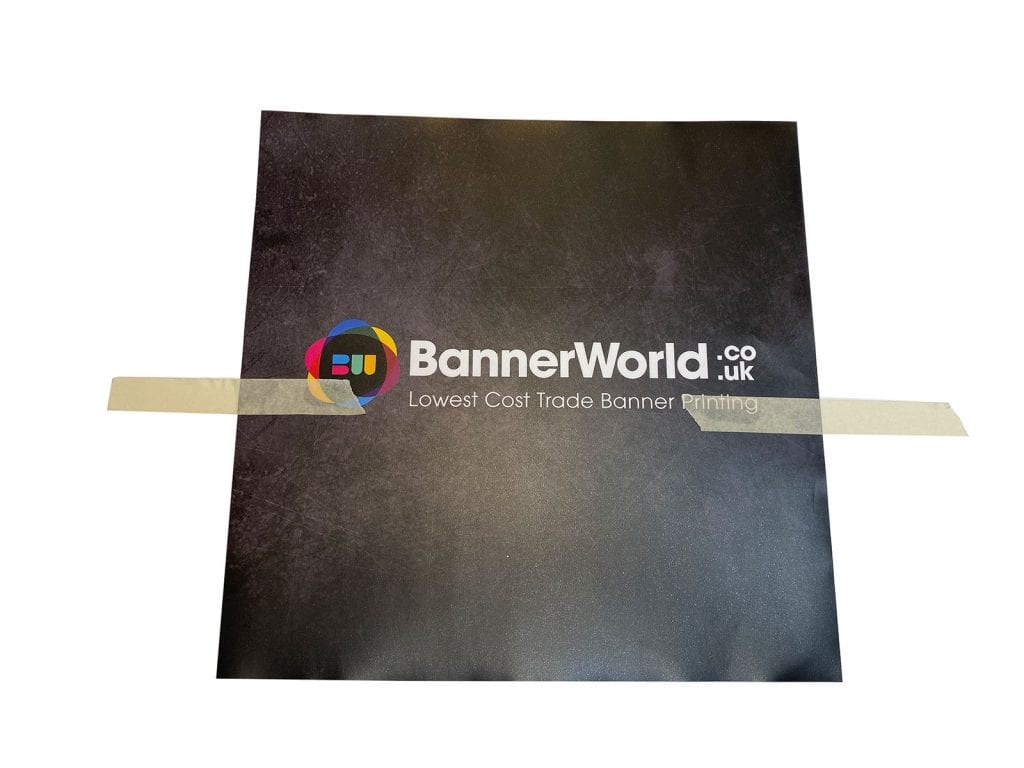
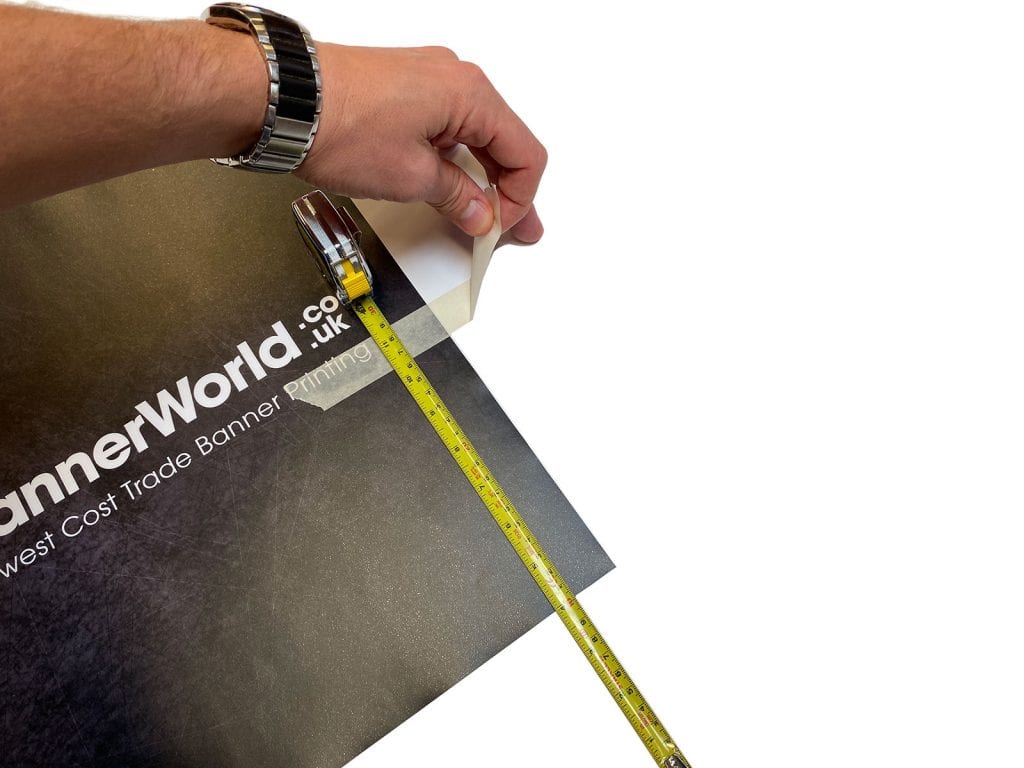
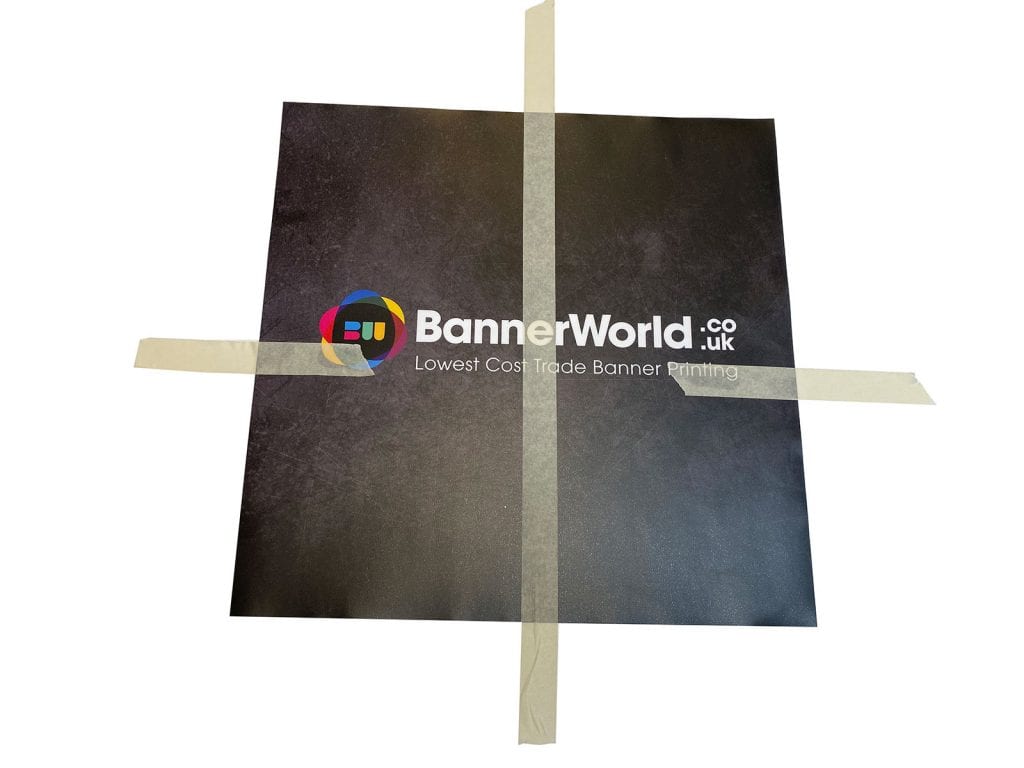
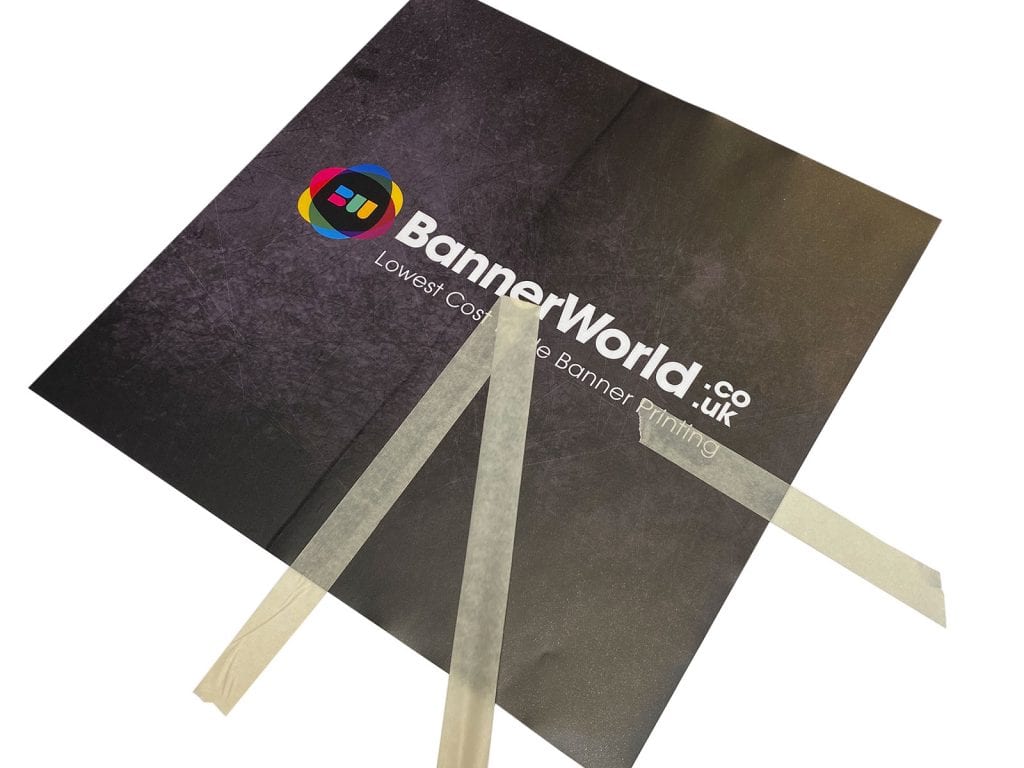
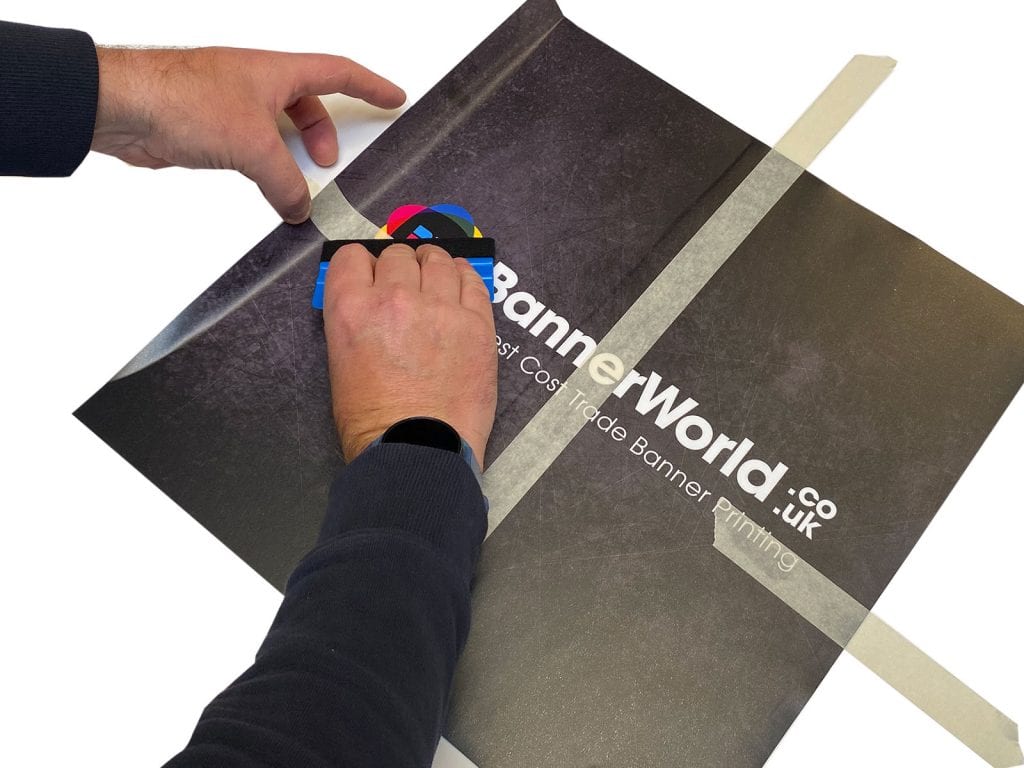
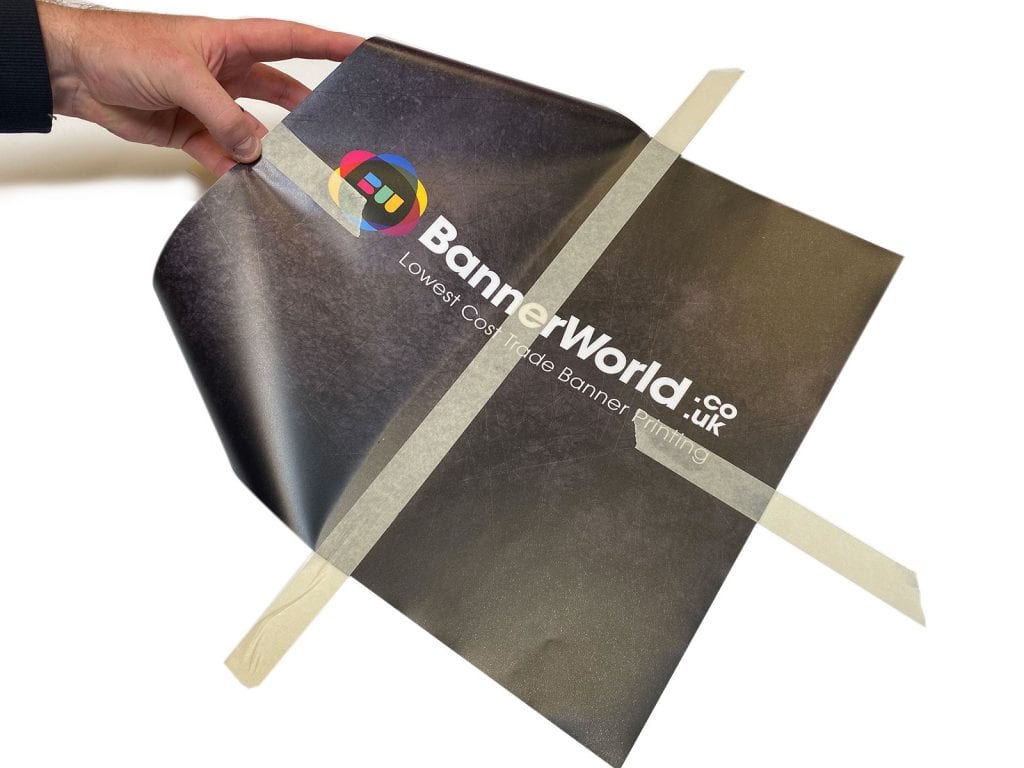
Place your vinyl on your panel in the approximate position you require it to be applied. Tear off two strips of masking tape around 5-6 inches long. Dependant, whether your graphic is landscape or portrait, will depend on where you place the masking tape. For landscape, you will place a piece of masking tape on the centre of the left-hand side and the centre of the right-hand sides. The masking tape should be half on the vinyl and half on the panel. If you need to adjust the position, then use your tape measure to measure the distance to the edge of your panel and adjust where necessary. If your graphic is too high on the right-hand edge, pull up the sticky tape on the right edge and lower down into position and re-stick back onto the board. Once you are happy with the positioning, we can then apply a long run of tape across the middle, creating a central hinge.
Step 3. Applying your vinyl
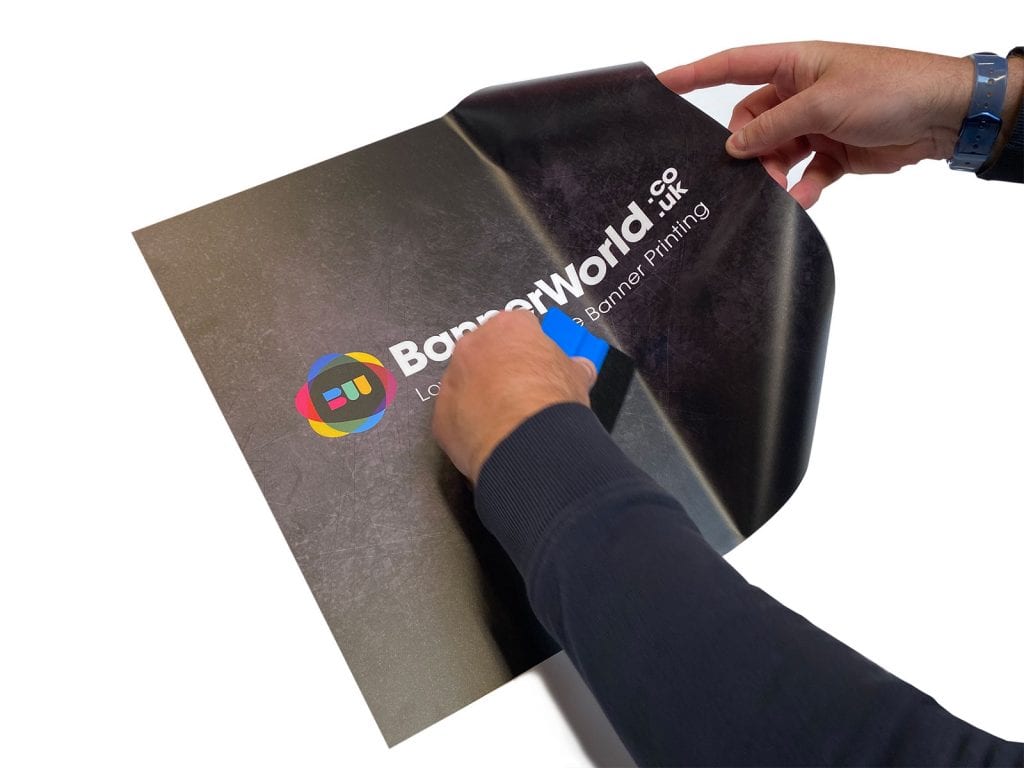
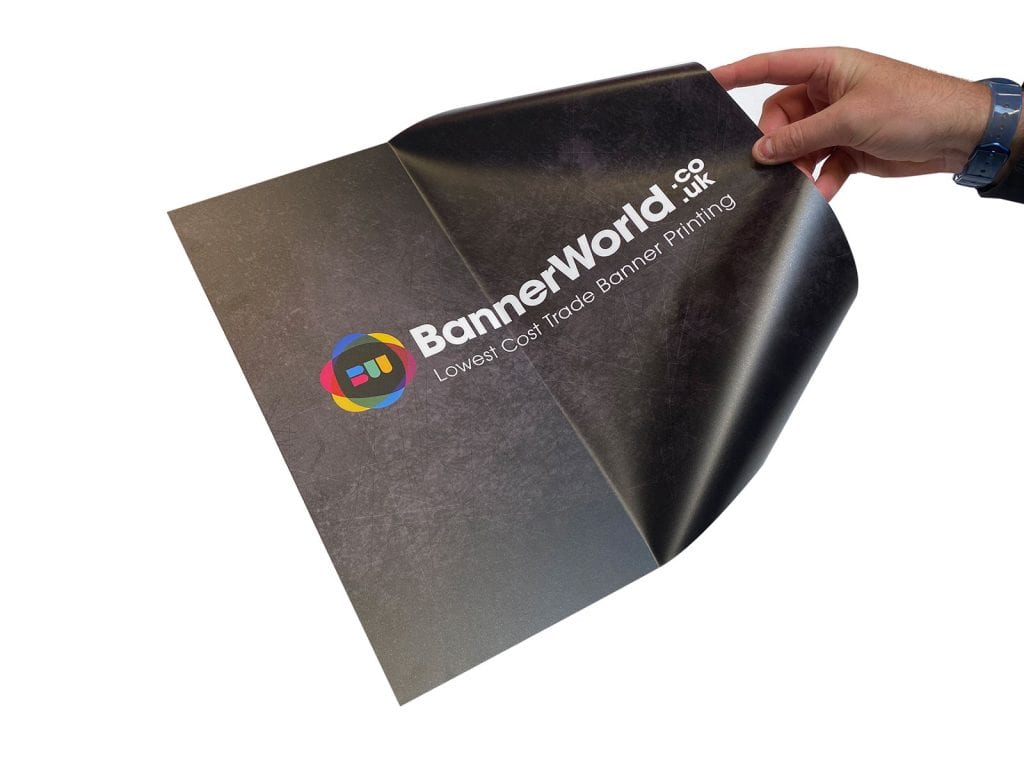
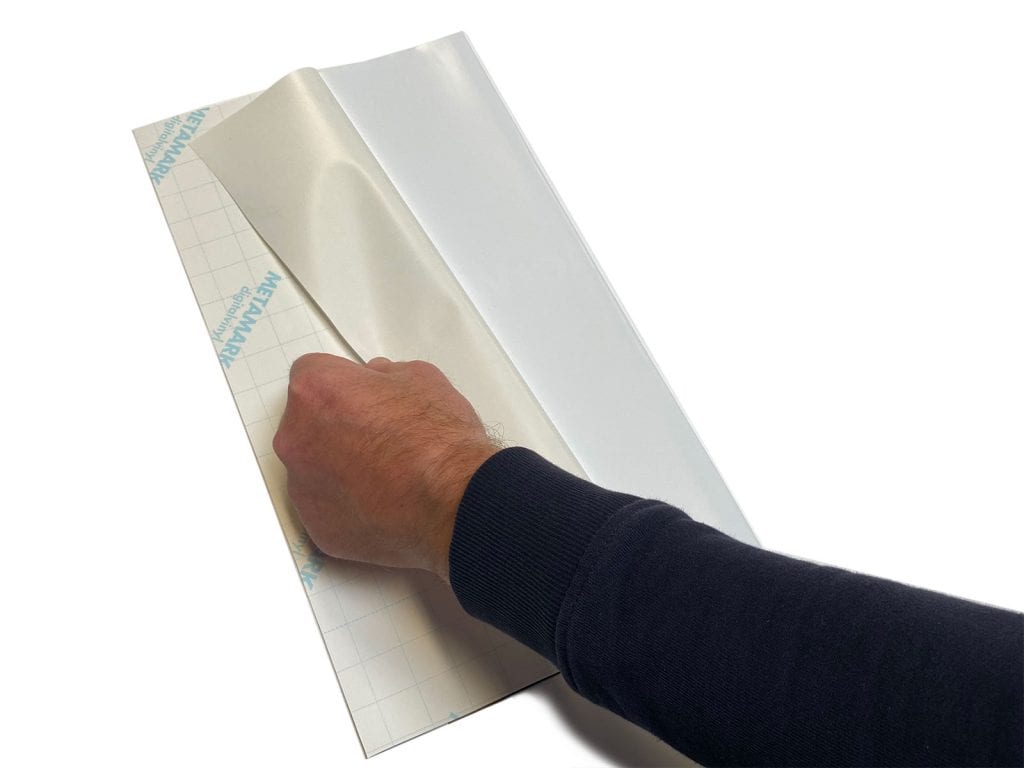
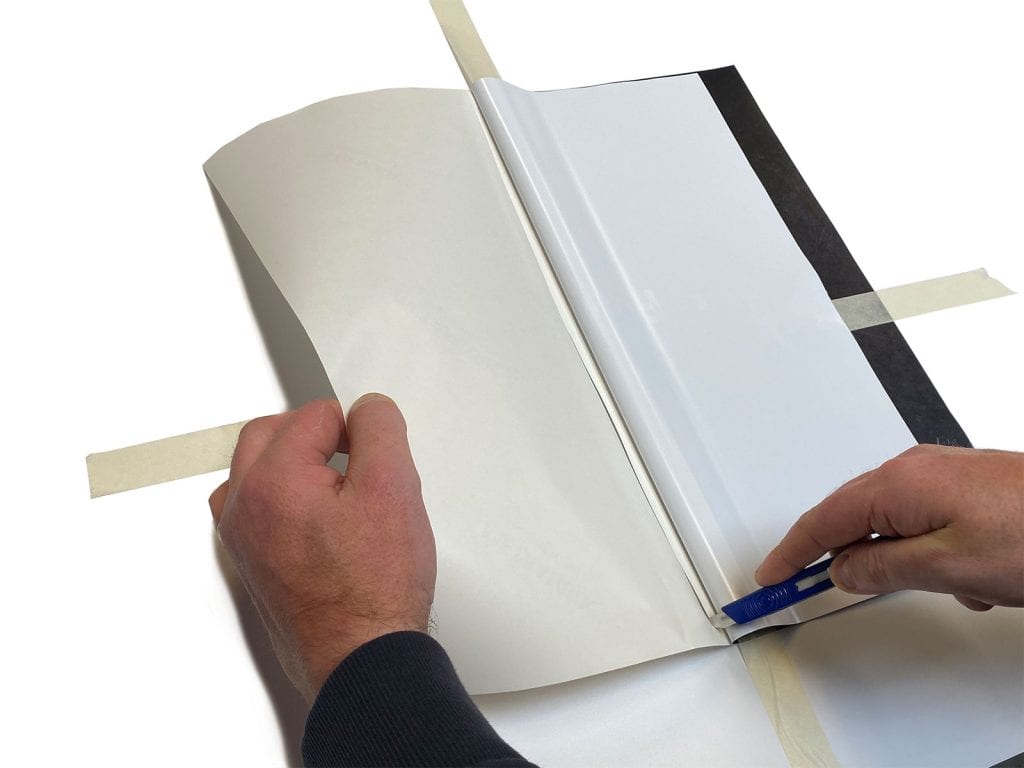
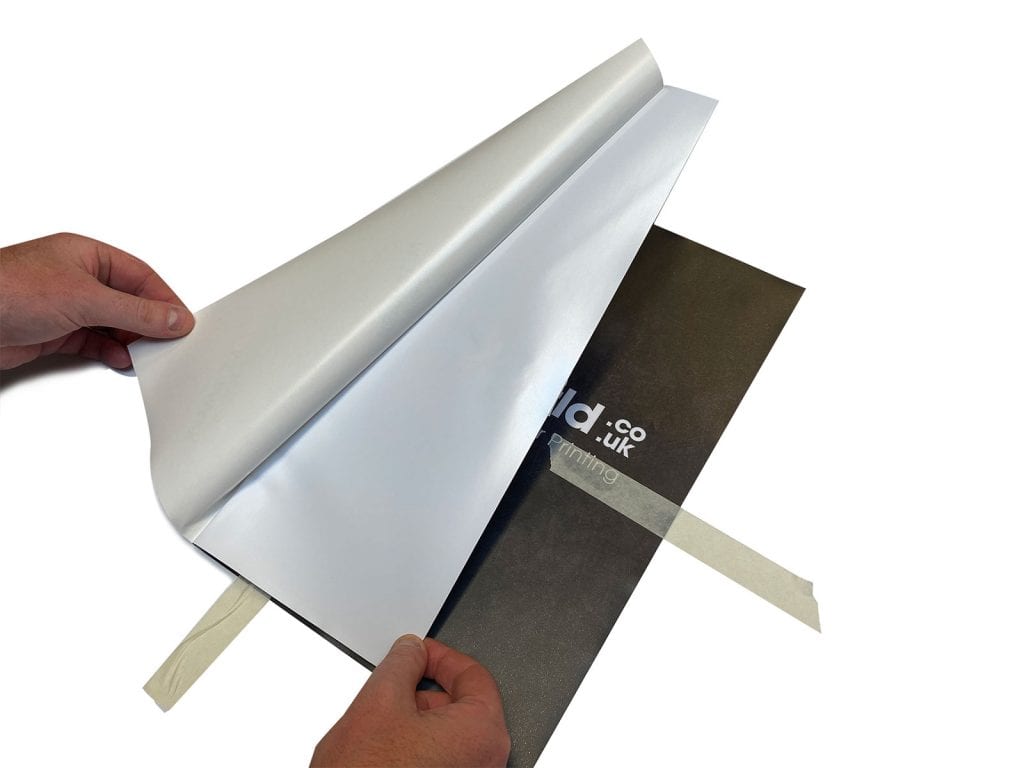
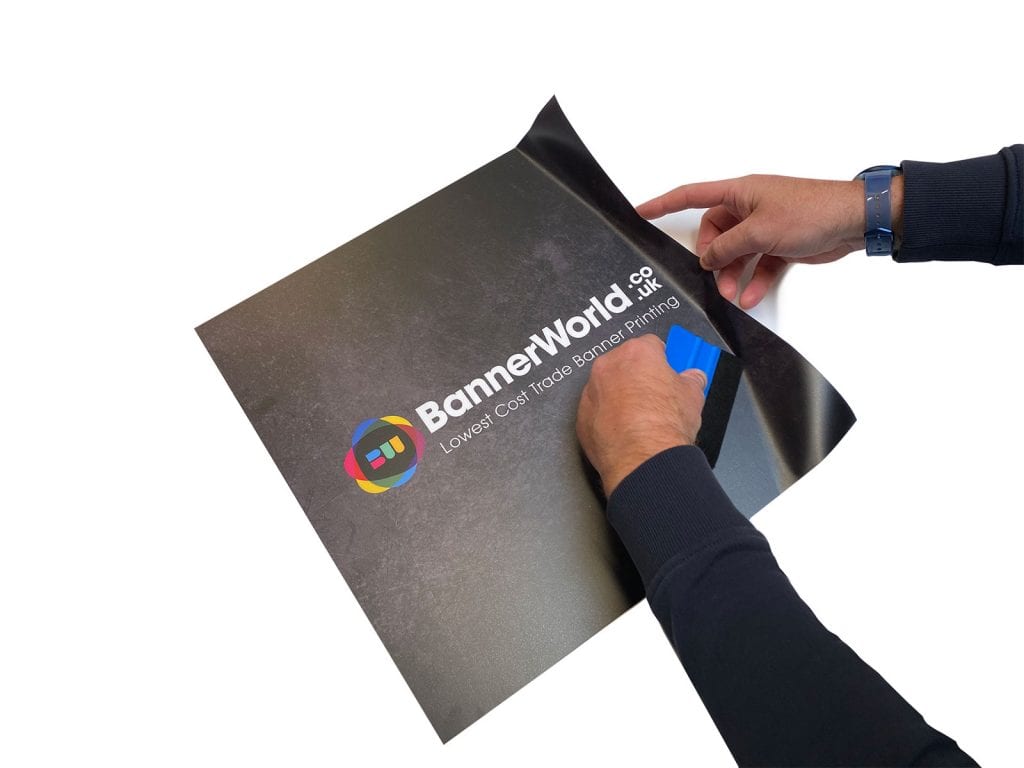
Carefully cut or remove one of the masking tape strips. Lift the vinyl up over itself so you can see the backing paper. Working from one corner peel away the backing paper. Once you have peeled the backing paper very carefully cut away the piece of backing paper. Please be careful not to cut or scratch the panel with the knife as this could damage the application surface. You know have half the vinyl with the backing removed. Move the vinyl back towards the panel, holding away from the board by a few inches. Use a squeegee or similar and working from the central hinge start applying the vinyl working your way along to the edge. When applying the vinyl use shallow strokes of the squeegee moving up and down the entire graphic from top to bottom. Keep using this method and squeegeeing along until you reach the end of the vinyl and the whole side has adhered. Now remove the central hinge and the positioning tape on the opposite side. Lift the vinyl remove the backing and repeat the process. You can pop any small bubbles by carefully piercing them with the scalpel. Be careful just to prick them as you don’t want to damage the vinyl. You have now successfully installed your graphic.
Applying vinyl graphics a using wet application method
Wet application is a favoured method when you have larger graphics which need installing. Installing your graphics wet is an ideal method when installing vinyl graphics on windows especially larger harder to handle size decals. Only use a Wet application on flat panels. If your vinyl graphic is going over contours, the wet application wouldn’t be suitable.
Get your tools ready.
You will need all of the tools just mentioned earlier. The additional item is a spray bottle. If you haven’t a spray bottle handy, then you can use an old kitchen spray bottle or window cleaning spray bottle or similar. Take the empty spray bottle and add one drop, literally two drops of fairy liquid into the spray bottle and top the rest with water to create a soapy solution.
Wet application instructions guide
Ok so as the steps above you have cleaned your application area. Place your vinyl graphic face down on a workbench or a clean hard floor. Make sure your bench or flooring is clean. You don’t want any dust or dirt coming into contact with the adhesive side of the vinyl as this will ruin the finish.
Spray the back of the vinyl
Place the vinyl graphic face down, with the back of backing paper face up. Peel the backing paper away from the vinyl. The adhesive side will be facing up towards you. Get your spray bottle and squirt a fine to medium mist over the entire sticky area. Keep the amount of fluid uniform and spray all the adhesive side with the same amount of water.
Spray the application area
Do the same on the application area, whether this is a window or the side of a van. Spray the entire surface with the soapy solution.
Place the graphic in situ.
It’s always best to get somebody to assist with this next stage, especially on larger graphics. Make sure your hands are clean, you don’t want to be handling graphics with dirty or oily hands. Carefully pick up the vinyl from each corner. Do not drag along the floor or bench pick up by two corners or if somebody is helping you pick up using all four corners. The key here is not to get any dust or dirt on the vinyl, so don’t be tempted to drag the vinyl and pick it up very carefully. Now bring the vinyl carefully over to the application area. Hold the vinyl tight enough that it doesn’t crease but not too tight that you don’t want to stretch the vinyl. Place the vinyl gently onto the panel. At this stage, you can use a tape measure to make sure you are happy with the positioning. If you are not happy with the positioning, you should be able to slide the vinyl into a better position. If you are struggling to slide the vinyl, then you can lift the vinyl from the window or panel and respray the surface to add more water and relay back into place.
Once you are happy with the position, you can now squeegee out the water. To squeegee start in the middle and work out from left to right, then moving towards the top of the panel do the same again moving left to right all the way up to the top of the graphic. Once you have removed the water from the top section, do the same working down, so go back to the middle and then work left to the right until you reach the bottom. You have now successfully removed the water and installed your vinyl graphic. If you want to, you can repeat the process to remove any additional water residue.
Small amounts of water might still be visible after application, and some areas on windows (if you are looking from the rear of the window so looking at the adhesive side) might look like there is some water or a small amount of ghosting. Ghosting is entirely normal. Once the vinyl has been in situ for 48 hours, the water residue will evaporate. Any larger bubbles once installed should be removed. You can do this by applying harder pressure with the squeegee working the water bubble along to the edge of the vinyl. You can remove water from Larger bubbles using a blade to prick the vinyl and push out the fluid




Leave a Reply
You must be logged in to post a comment.